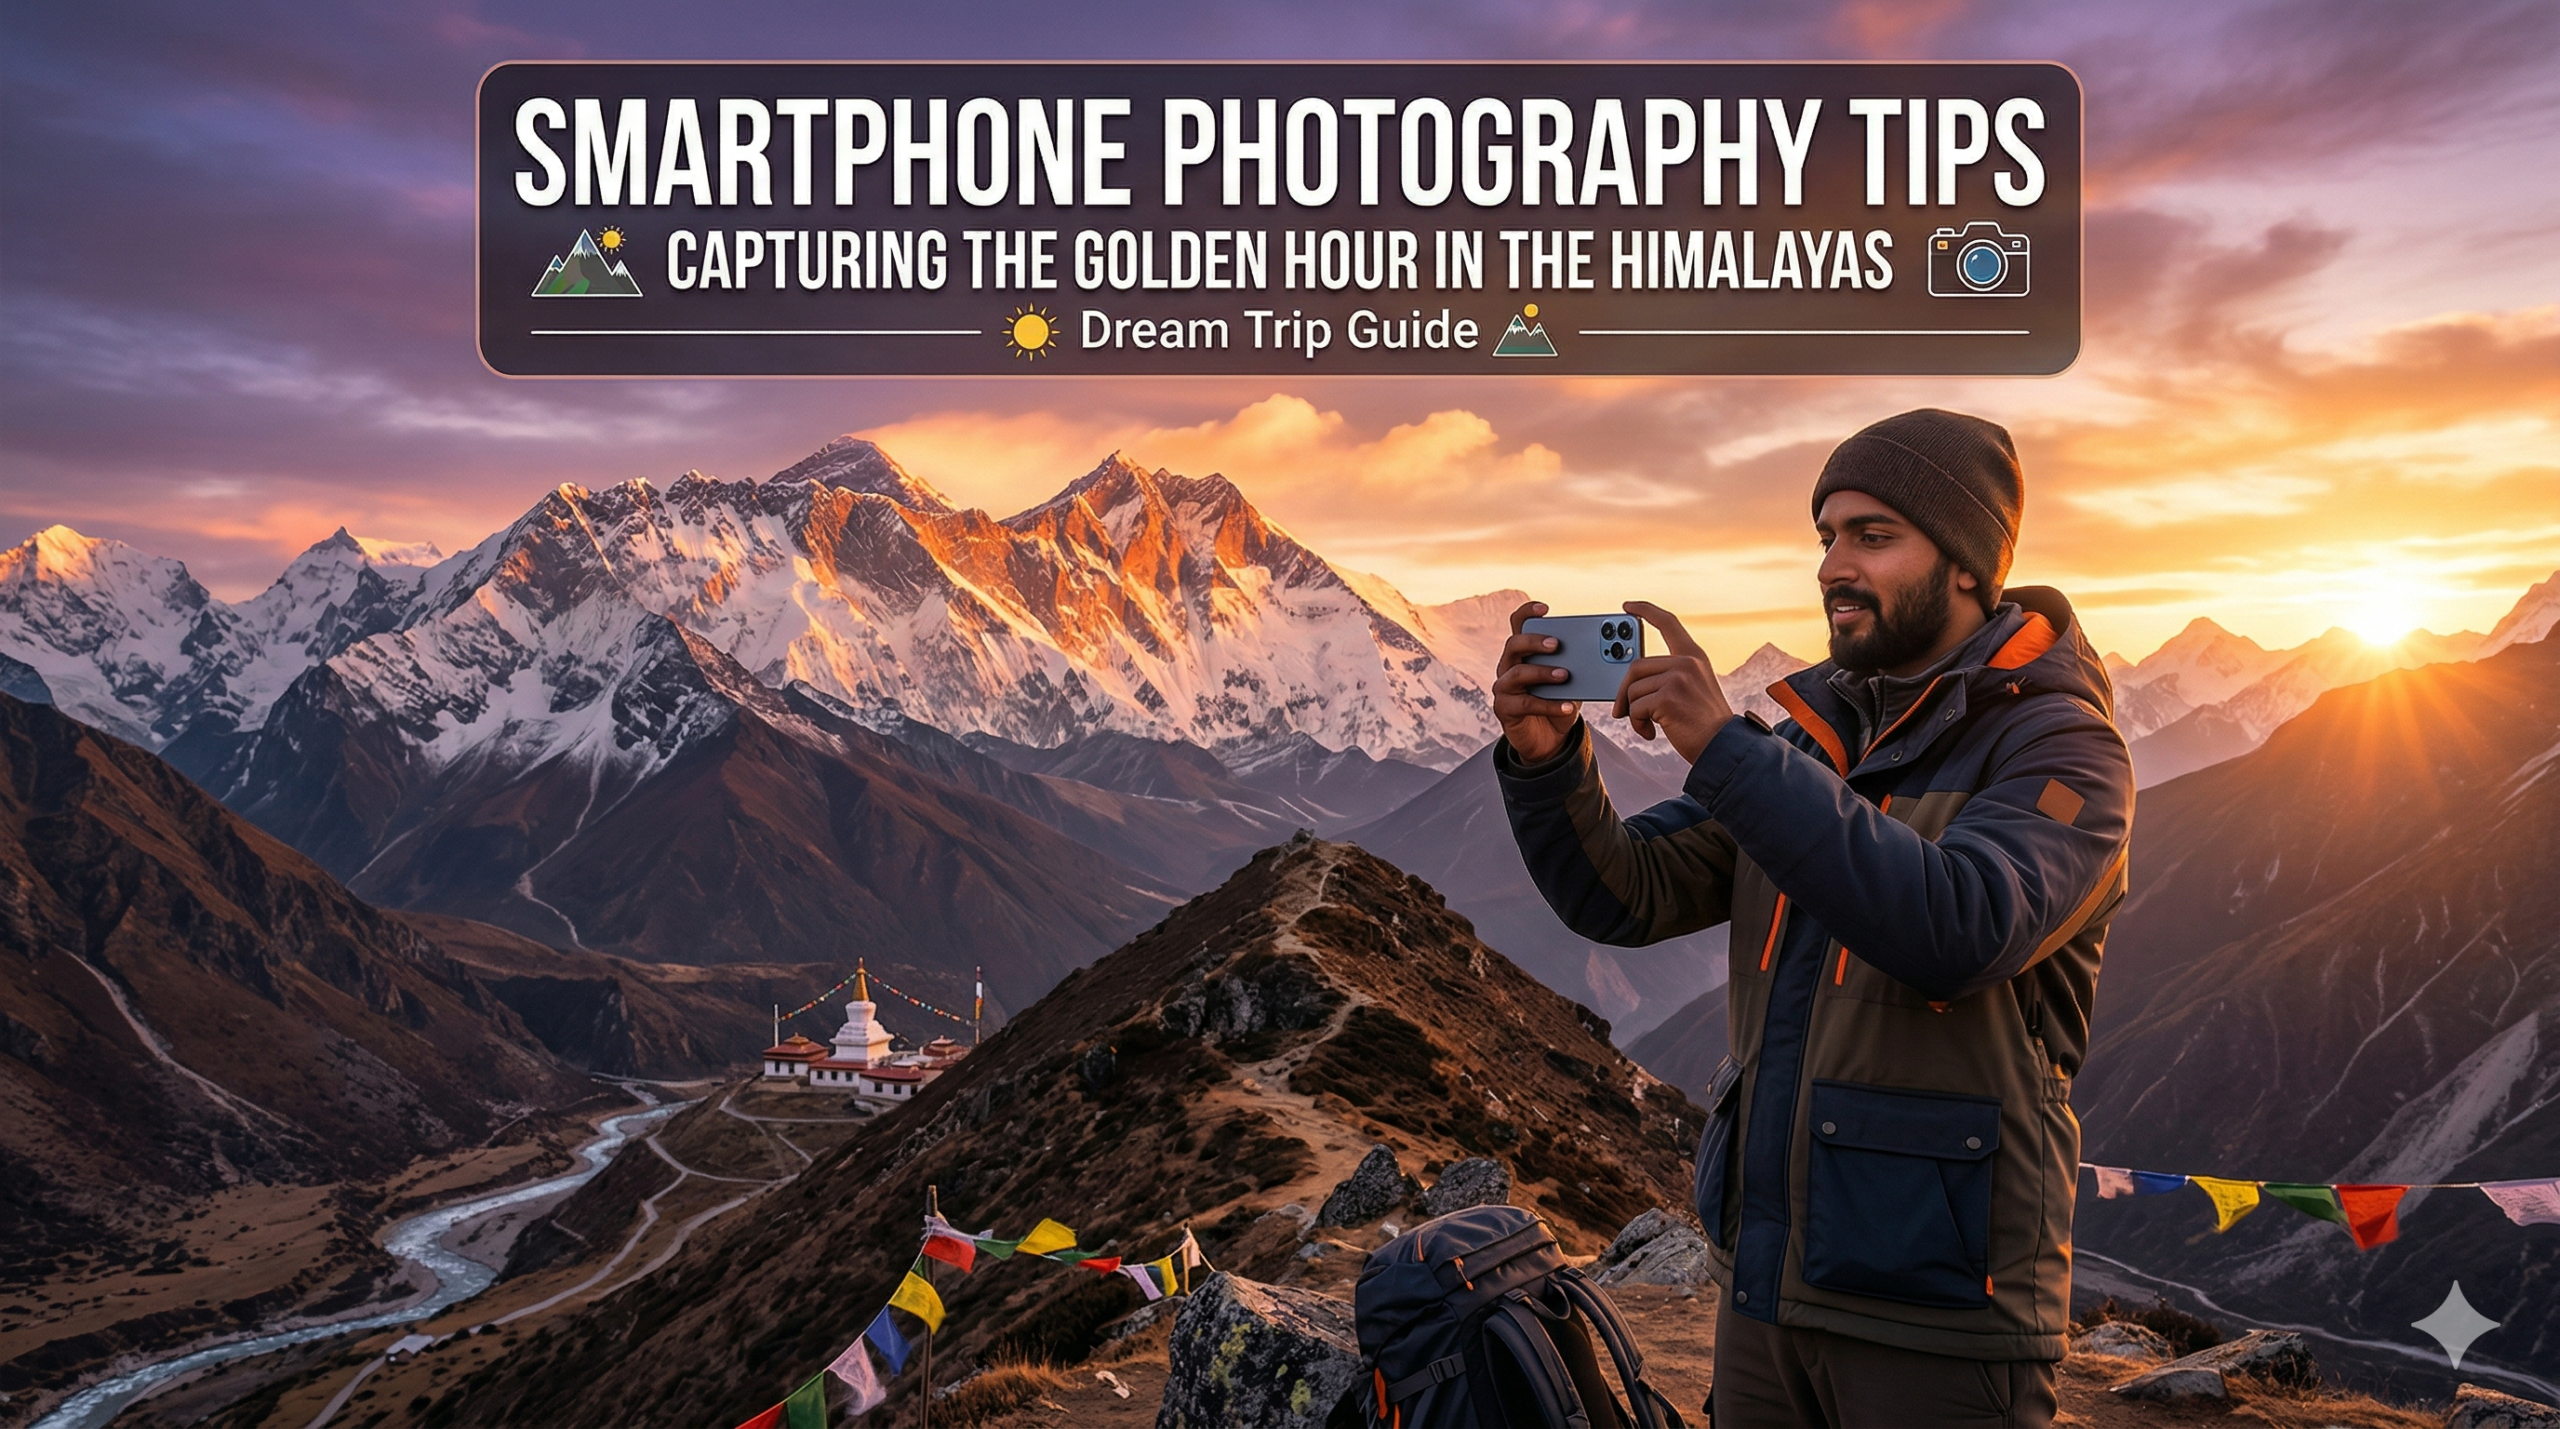
There is a reason the Himalayas are called the “Abode of the Gods.” But even the most divine landscapes can look flat, gray, and uninspiring if you don’t know how to dance with the light. In the high altitudes of Ladakh, Himachal, or Nepal, the Golden Hour—the short window just after sunrise and before sunset—is not just a time of day; it’s a celestial event.
For a solo traveler or a backpacker, carrying a 5kg DSLR kit up a 4,000m pass is a nightmare. The good news? In 2026, smartphone sensors have evolved to the point where, with the right technique, you can capture professional-grade shots of the “Burning Peaks.”
Also Read:- Hostel Culture in India: The Ultimate Guide for Social Solo Travelers
1. Understanding the Himalayan Golden Hour
In the plains, the Golden Hour is predictable. In the Himalayas, the mountains write their own rules. Because of the massive vertical relief, the sun might “set” behind a 6,000-meter peak two hours before the actual sunset time listed on your weather app. This is why scouting is the most important skill for a mountain photographer.
The “Golden Hour” occurs when the sun is low on the horizon. The Earth’s atmosphere filters out the blue light, leaving behind long-wavelength reds and oranges. In the Himalayas, this light hits the snow-capped summits first (at sunrise) or last (at sunset), creating a phenomenon known as Alpenglow, where the mountains glow as if they are lit from within.
| Feature | Sunrise Golden Hour | Sunset Golden Hour |
| Color Palette | Soft pinks, cool purples, crisp golds. | Deep oranges, fiery reds, burnt siennas. |
| Atmosphere | Usually clearer, less dust, very cold. | Can be hazier, more dramatic clouds. |
| Best Subject | West-facing peaks (hit by first light). | East-facing peaks (catch the dying light). |
| Challenge | Getting out of a warm sleeping bag at 4 AM. | Losing light quickly while still on the trail. |
2. Technical Setup: Taming the Smartphone Sensor
Your phone wants to make every photo look “average.” It sees the bright sun and the dark valley and tries to balance them, often resulting in a muddy, boring image. To capture the magic of the Himalayas, you must take control of the settings.
The HDR Hack
HDR (High Dynamic Range) is your best friend in the mountains. The contrast between the brilliant white of the snow and the deep shadows of the pine forests is too much for a standard shot. HDR takes three photos at different exposures and merges them. In 2026, most flagship phones (iPhone 15+, Samsung S24+) do this automatically, but you should ensure “Smart HDR” or “Scene Optimizer” is active.
Manual Exposure: The “Tap and Slide”
Don’t just point and shoot. Tap on the brightest part of the sky (near the sun) and slide the sun icon down to underexpose the image slightly. This preserves the rich orange and red colors of the sky that would otherwise be “blown out” (turned white) by the camera’s auto-brightness.
Expert Review: “In high-altitude photography, I always tell my students to underexpose by -0.7 or -1.0. It’s easy to pull detail out of a shadow in editing, but once a bright Himalayan sunset is blown out to white, that data is gone forever.” — Arjun K., Travel Photographer.
3. Composition Secrets for Scale
The biggest mistake beginners make is pointing the phone directly at a mountain. Without context, a 7,000-meter peak looks like a small hill. You need to give the viewer a sense of scale.
Leading Lines and Foreground
Use the mountain trails, a row of prayer flags, or a winding river to lead the eye toward the summit. If you have a friend with you, have them stand in the lower third of the frame. Their tiny silhouette against the massive range instantly communicates the epic scale of the Himalayas.
The Rule of Thirds
Enable the Grid in your camera settings. Place the horizon on the bottom third line to emphasize a dramatic sunset sky, or on the top third line to focus on the textures of the valley floor. Never put the horizon in the dead center unless you are shooting a perfect reflection in a high-altitude lake like Pangong or Chandratal.
4. Pros and Cons of Smartphone Mountain Photography
While smartphones are incredibly capable, they have limitations compared to professional gear. Knowing these helps you play to your strengths.
The Pros
- Portability: You can pull it out of your pocket in seconds when the light hits a peak.
- Instant Processing: Features like Night Mode and Auto-HDR do the heavy lifting for you.
- Wide-Angle Lenses: Most modern phones have 0.5x ultra-wide lenses, perfect for sweeping mountain panoramas.
- Direct Sharing: You can edit and upload to your blog or social media while still sitting at the base camp.
The Cons
- Digital Zoom: Never use digital zoom in the mountains; it destroys the texture of the snow. Use the dedicated Telephoto lens (2x, 3x, 5x) if your phone has one.
- Battery Drain: Cold weather kills smartphone batteries. A phone that lasts all day in Delhi might die in 2 hours at 15,000 feet.
- Small Sensor: In very low light (Blue Hour), smartphones can produce “noise” or grain in the dark areas of the photo.
5. The “Do’s and Don’ts” of Golden Hour
To ensure you come back with “wall-frame” worthy shots, follow this checklist of mountain etiquette and technical discipline.
What to Do (The Do’s)
- Clean Your Lens: This sounds simple, but fingerprints are the #1 cause of “hazy” mountain photos. Wipe it with a microfiber cloth before every shoot.
- Use a Mini Tripod: Even a tiny Gorillapod helps when the light gets low and your shutter speed slows down. It prevents “micro-shake” that ruins sharpness.
- Shoot in RAW: If your phone supports ProRAW (iPhone) or Expert RAW (Samsung), turn it on. It saves more data, allowing you to fix shadows and colors much better during editing.
- Look Behind You: Sometimes the best shot isn’t the sunset itself, but the way the golden light is hitting the peaks opposite the sun.
- Carry a Power Bank: Keep your phone inside your jacket pocket close to your body heat, and keep a power bank handy.
What Not to Do (The Don’ts)
- Don’t Use the Flash: A smartphone flash is useless against a mountain 10 miles away. It will only illuminate the dust or mist right in front of you.
- Don’t Rush the Shot: The light changes every 60 seconds. Stay in your spot for at least 30 minutes to capture the transition from gold to pink to deep blue.
- Don’t Over-Saturate: When editing, don’t slide the “Saturation” bar to 100. It makes the Himalayas look like a cartoon. Use the “Vibrance” tool for a more natural pop.
- Don’t Ignore the “Blue Hour”: The 20 minutes after the sun goes down are equally magical. The sky turns a deep indigo, and the silhouettes of the mountains become razor-sharp.
- Don’t Forget to Experience It: Put the phone down for 5 minutes. No camera can capture the feeling of the cold Himalayan wind and the silence of the peaks.
Also Read:- Traveling with Family: 5 Child-Friendly Hill Stations for the 2026 Summer Vacation